
Sunday, April 11, 2010
Spring Cupcakes with Cookie Toppers
Last month, when I made some fun lollipop cookies as cupcake toppers for my daughter's candy party I started thinking of all the other cute mini cookies I could make for cupcake toppers all year round. Since we're right in the middle of spring here in California, I thought some little flowers would be the perfect way to celebrate the season.

I've had lots of questions as to how I made the little lollipop toppers, so I'll start with a little how-to.
First, prepare the cookie dough then chill and roll out the dough (recipe and instructions HERE).
It is important that the dough is nice and cool and firm.
For the lollipop cookies I used a 1 1/2 inch circle (from this set ). For the flower shapes, I used cutters from the Wilton Easter 12pc Mini Metal Cookie Cutter Set
 .
.
When I'm making mini cookies to use as cupcake toppers, I use Wilton(R) 4 Inch Lollipop Sticks (also available at Michael's and Hobby Lobby).
Once you have your dough chilled, rolled out and have cut your shapes...


Turn the cookies back over, and bake right side up at 350*F until the are just beginning to take on a golden tone. These smaller cookies usually take about 8-9 minutes.
Transfer to a cooling rack, and as soon as they are cool they are ready to decorate.
These cookies also keep very well, so you can bake them one day, then keep them covered (on a plate covered with plastic wrap, or in a large Ziplock type bag) for a couple days before you decorate them.
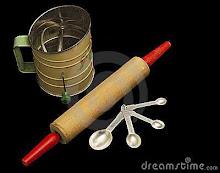
Anatomy of a cookie decorating table

Once you're ready to decorate, prepare Royal Icing (recipe below).
Royal Icing Recipe
4 Tablespoons Meringue Powder (I use Wilton Brand)
4 cups (about 1 pound) powdered sugar
6 Tablespoons warm water
Beat all ingredients until stiff peaks form.
*Make sure all bowls and utensils are totally grease-free or your icing will never reach proper consistency.
Spoon some of the thick white icing into individual bowls and add coloring (I use
Gather supplies and prepare a work area (as pictured above).

Using a #2 or #3 size tip, outline your cookie with icing. If you're outlining a very detailed shape, you may need to use a thicker consistency of icing (so the icing doesn't just run off the cookie, or lose the shape you want). But if you're doing a simple shape, you can use the same icing to outline and flood (a medium-thin consistency).

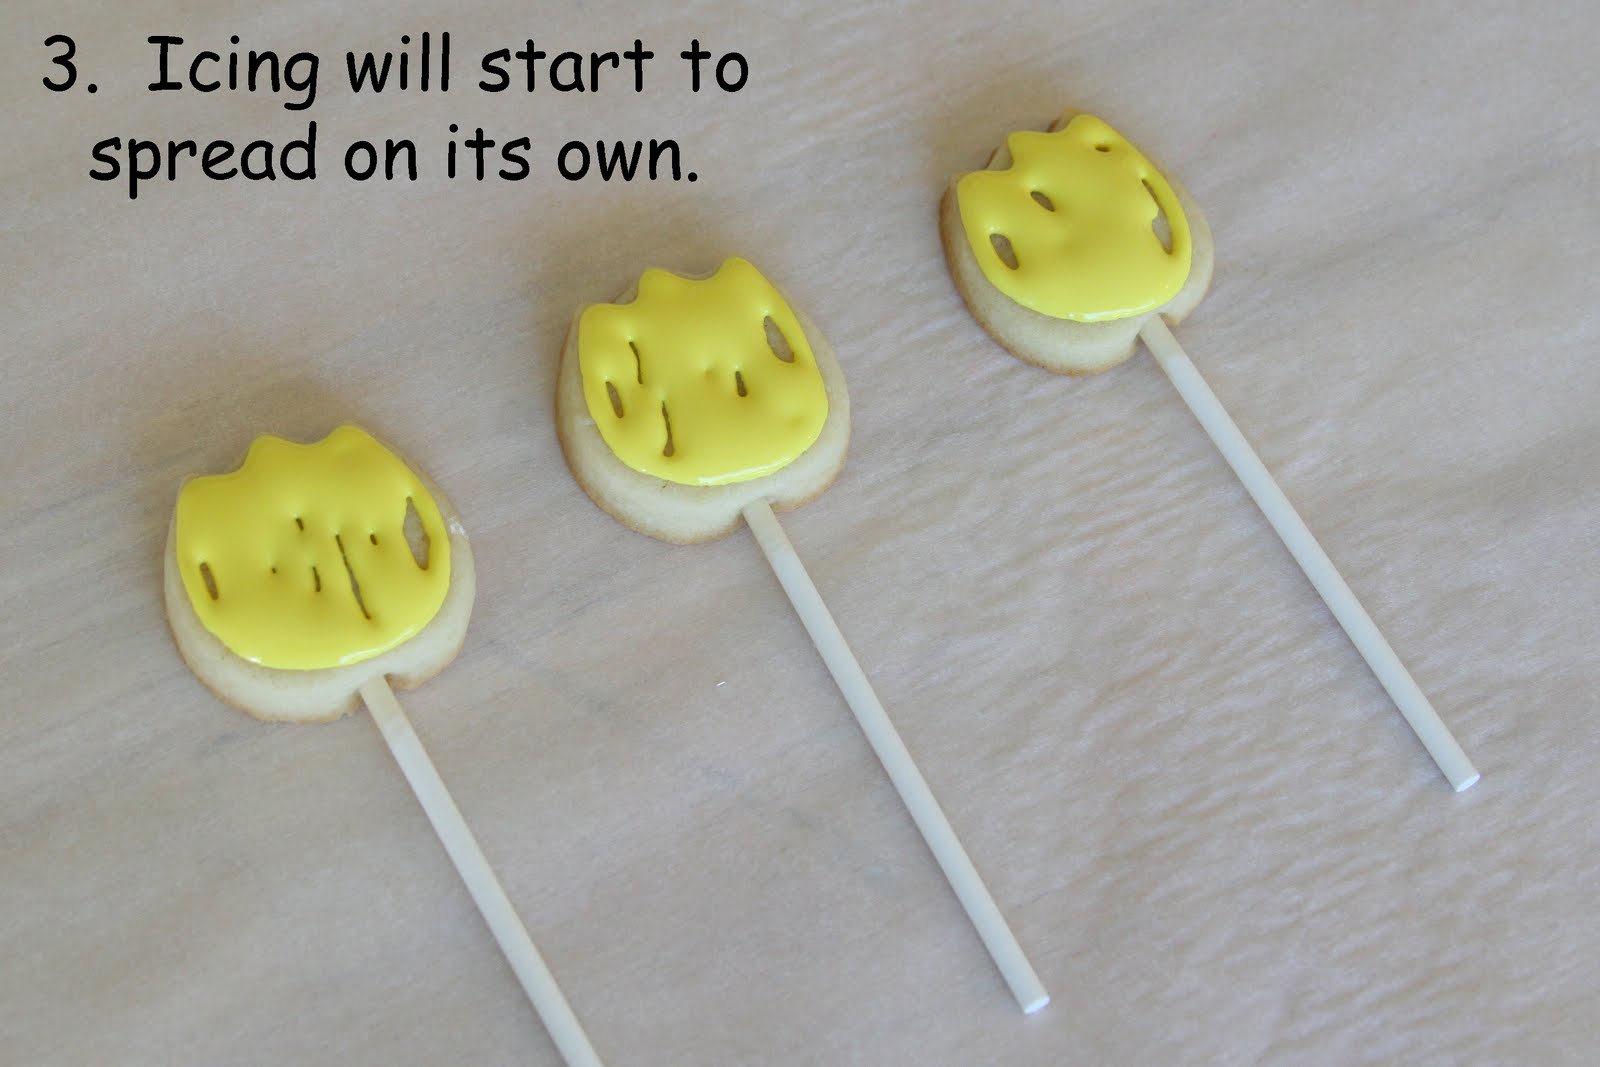
After outlining, (immediately) go back and "flood" the cookie with a medium-thin consistency icing. Pipe the flood icing back and forth inside the shape of your outline. As you can see (below) it doesn't have to be perfect. The icing will begin to fill in on it's own, and then you can use a toothpick to guide the icing to any unfilled areas.

For these cookies, I wanted to create a two toned effect, like some varieties of real-life tulips. You could skip this step and have single color cookies.
For other cookie designs, this would be the time to use of another color of flood consistency icing and add little drops onto the cookie, creating perfect polka-dots.
This technique is call "wet on wet".


Set the cookie on a tray to dry. Depending on the temperature and humidity level in your home, the icing will take 2-12 hours to dry. Do not attempt to wrap up the cookies until the icing is completely dry. To speed up drying time a bit, set up a fan to gently blow on the cookies.
Once the icing is dry, add a ribbon around the stick (if you like), and insert into frosted cupcakes.

It's a cookie and a cupcake... what more could you want in life? Well, what more could you want in a treat at least?

For the centers of the daisy shapes I added a mini M&M when the icing was still wet (and before I sprinkled on the the sanding sugar).

Happy Spring
and
Happy Baking!


No comments:
Post a Comment